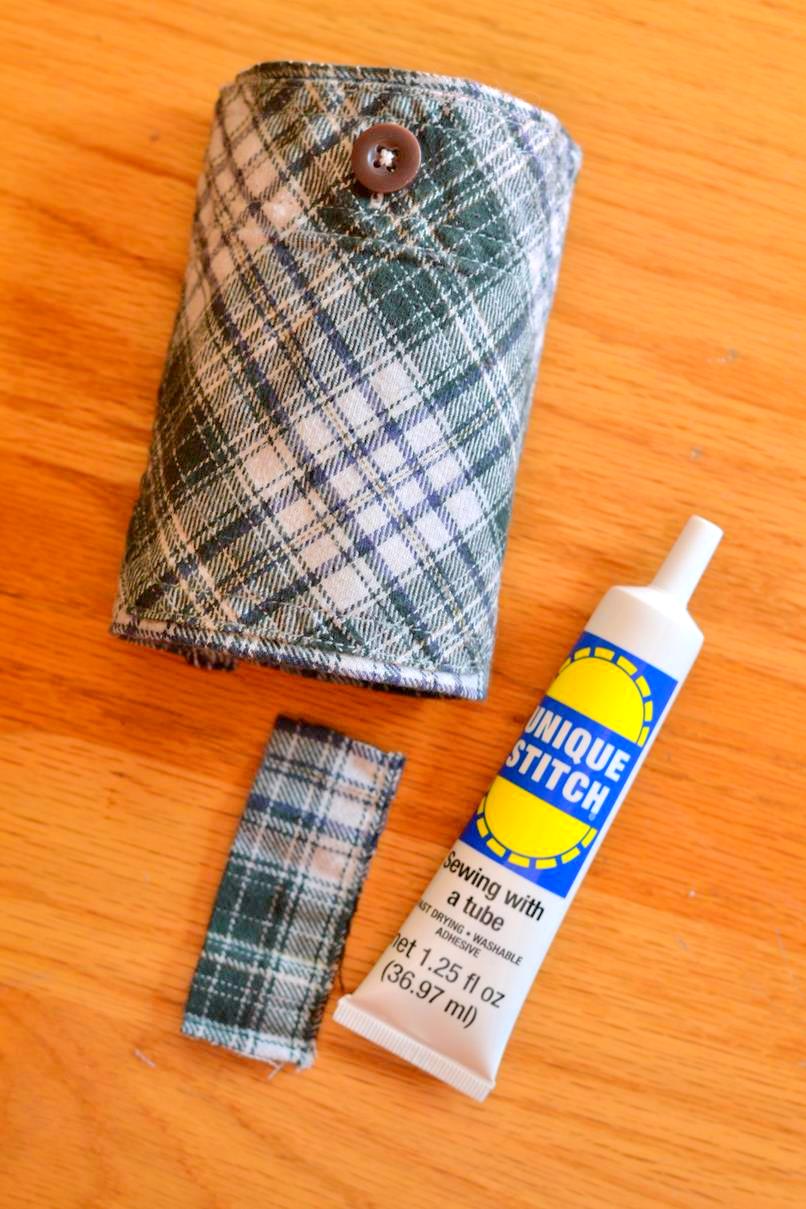
Can we first address “cozie” versus “coozie?” Maybe it’s based on where you grew up that determines which word you use, but I have forever called it a coozie, so I’m sorry you cozie lovers! Regardless of word choice, I think we can all agree that it’s of the utmost importance to keep your beer cold and your hand warm. Combining my love of beer, flannel, and no-sew projects, I bring you these amazing and functional Flannel Pocket Beer Coozies! These not only make for a cute and affordable homemade gift, but they’re so simple to customize. You can easily add a personalized message on the inside for your sweetheart or hand-stitch a loved ones initials on the outside. Or you can just buy them a six pack of their favorite beer so they can actually use it! 😉

(makes 1)
Supplies:
Large flannel shirt (preferably one that you don’t care about cutting up!)
1 (12oz) beer bottle
Measuring tape
Scissors
Fabric glue (Unique Stitch is my favorite!)
1 (12″ by 9″) sheet of felt
(1.) Start out by lining up your bottle on top of the pocket of your shirt. I like to do this so I can figure out exactly where I need to measure and cut. Please note that you may want to adjust your measurements depending on the size and style of your flannel. (2.) Leave about 3/4 of an inch of fabric above and below the pocket and cut out a rectangle measuring 9 3/4 inches by 6 1/2 inches. The rectangle should be measured from the edge of the button up side of your flannel so you have a way to fasten it around the bottle.

(3.) Using the bottom edge of the button up, cut a piece measuring 3 1/4 inch long. Cut on the outside of the stitching so you don’t have to worry about this piece fraying.

(4. & 5.) Going back to our rectangle pocket piece, we’re going to flip it over. Run a thin line of glue along the bottom edge and fold over to create a hem measuring about a 1/2 inch.

(6.) Repeat with top edge and raw side edge. Set aside.

(7.) Cut a piece of felt measuring 6 1/2 inches by 4 inches. Run a thin line of glue around all 4 edges and flip over to place on the inside of your flannel piece. Line it up between the seam from the button up edge and seam from the pocket stitching. Lightly press down along the edges to adhere. And go easy on the glue! If you use too much it could seep through and potentially glue your pocket shut! Allow glue to set up for 10 minutes or so.

(8.) Wrap your flannel piece around the bottle again and overlap fabric over button side until slightly snug. Use an ink pen to mark the fabric with a dash in the center of where the buttons are underneath. (9.) Remove from the bottle and using your scissor make small snips where you marked the fabric.

(10.) Go ahead and push the button through the button holes you created to make sure they’re large enough. Unbutton and flip over so the inside (felt side) is facing up. Put a few dabs of glue around the cut and use your finger to smooth back the frayed edges. (11.) This will prevent the button hole from ripping or fraying further. Allow glue to dry completely.

Button the flannel piece around your bottle and then slide the bottle out.

(12.) Run a thin line of glue along one of the raw edges of the strap piece you cut out and stick to the inside of the bottom edge of your coozie centered underneath the pocket. (13.) Press firmly to adhere.

(14. & 15). Repeat on the other side. And you’re done!


Allow the glue to completely set up (about 30 minutes) before using.


Enjoy!


